
Call : 0485800108 Email: contact@BerryBrush.com.au

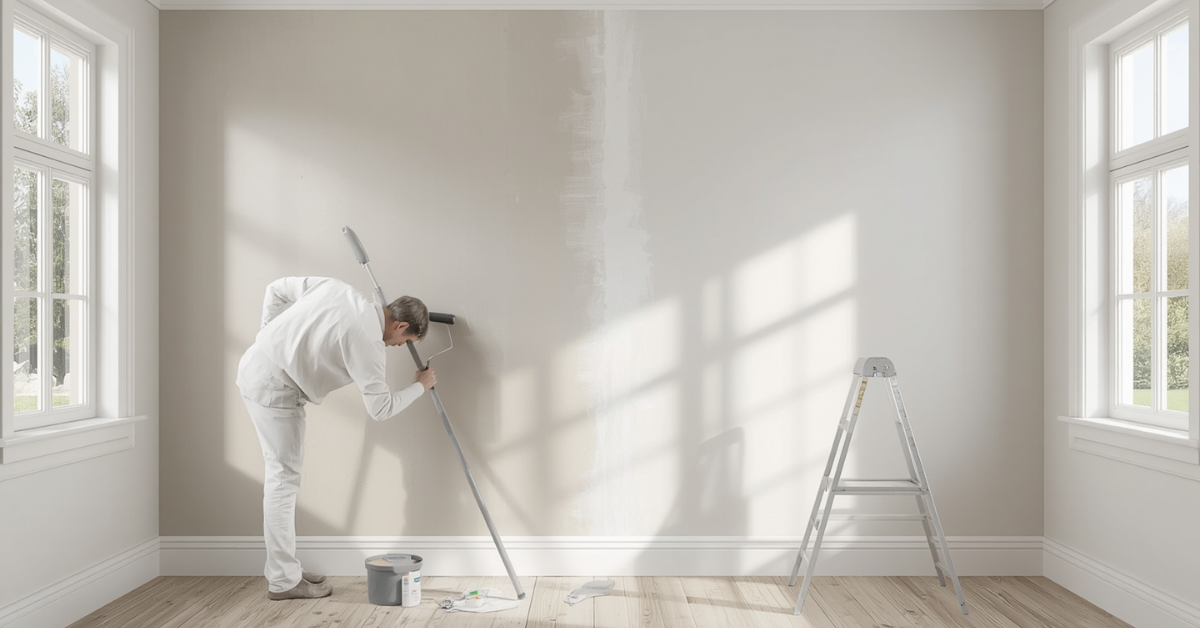

Most painting jobs in homes across Berry and the Shoalhaven are not on bare surfaces — they are on walls, trims, and weatherboards that have been painted before, sometimes many times. Painting over existing paint is straightforward when the existing coat is in good condition. When it is not, the approach changes significantly.
Is the Existing Paint in Good Condition?
Paint in good condition means: firmly adhered with no peeling, bubbling, or flaking; no significant cracks or surface defects that would show through a new coat; no active mould or moisture damage underneath. Painting over poor-condition surfaces without addressing the underlying issues is the most common reason repaint jobs fail early. Sources: Dulux Trade
Preparation Steps When the Existing Paint Is Sound
- Wash the surface — a sugar soap wash removes grease, dirt, and contaminants that prevent adhesion
- Sand lightly — a scuff sand with 120 to 180 grit creates a mechanical key for the new coat
- Fill any holes or cracks — use appropriate filler for the substrate, allow to dry fully, and sand smooth
- Spot prime filled areas — bare filler absorbs paint differently to sealed surfaces, causing patchy sheen if not primed
Identifying Lead Paint Before You Start
For homes built before 1970 in the Shoalhaven, lead paint is a genuine consideration before any repainting or sanding work begins. Lead paint that is in good condition and not being disturbed can generally be painted over safely with appropriate encapsulating paint. Lead paint that is flaking or about to be disturbed by sanding needs specific handling procedures. Sources: NSW Environment Protection Authority
When You Are Changing Colour
Going from a dark colour to a light one is the situation where preparation matters most. A single coat of light paint over a dark surface will almost always show the underlying colour through patchy areas. The solution is either a quality tinted primer coat first, or accepting that two topcoats will be needed.
Painting Over Oil-Based Paint
Older homes in the Shoalhaven region may have oil-based paint on trims and skirting boards. Applying water-based acrylic directly over oil-based paint without preparation leads to adhesion failure. The correct approach is a light sand to break the gloss, followed by an oil-compatible primer or a quality adhesion primer before applying the acrylic topcoat.
The Challenge of Chalky Exterior Paint
Exterior paint that has chalked presents a specific challenge. If you apply new paint directly over a chalky surface, the new paint bonds to the chalk rather than to the substrate. When the chalk detaches, it takes the new paint with it. The correct approach is to pressure wash to remove as much chalk as possible, followed by a chalk-stabilising primer before topcoating.
What About Multiple Old Layers?
Surfaces with many layers of old paint, particularly chalky or flaking ones, can reach a point where removing old paint entirely is more practical than repainting over it. A professional assessment can determine whether preparation is sufficient or whether stripping back to bare surface is warranted.
How to Tell If Old Paint Is Oil-Based
Many older homes around Berry still have oil-based enamel on doors, skirtings and window frames under later coats. A simple test tells you what you are dealing with: dampen a cotton ball with methylated spirits and rub a small, hidden spot for 20 to 30 seconds. If paint comes off on the cotton ball, it is water-based acrylic. If nothing comes off, it is most likely oil-based and needs sanding and an adhesion primer before any acrylic goes on.
Choosing the Right Primer
| Existing surface | What to use before the new topcoat |
|---|---|
| Sound acrylic in a similar colour | Usually no primer; wash, scuff sand and spot-prime repairs |
| Glossy oil-based enamel | Sand to dull the gloss, then an adhesion or oil-compatible primer |
| Chalky exterior paint | Wash thoroughly, then a chalk-binding primer or sealer |
| Stains, water marks or smoke damage | A stain-blocking primer so the marks do not bleed through |
| Large colour change (dark to light) | A tinted undercoat, or plan for an extra topcoat |
| Bare timber or filler patches | The primer or sealer the topcoat manufacturer recommends |
Older Homes Around Berry: Check for Lead First
Homes built before 1970 may have lead in the older layers, even if the top coat is modern. Inexpensive lead test kits are available from hardware stores, and NSW EPA and the national LeadSafe guidance explain how to work safely if it is present. The key rule is to avoid dry sanding, heat guns and power sanders on lead paint. Our guide to painting a heritage home in Berry covers this in more detail.
Frequently Asked Questions
Do I need to prime before painting over existing paint?
Not always. Sound acrylic paint in a similar colour usually only needs washing, a light sand and spot-priming of any repairs. Glossy, chalky, stained or oil-based surfaces need the right primer first.
Can I paint acrylic over oil-based paint?
Yes, but only after sanding to remove the gloss and applying an adhesion or oil-compatible primer. Without that, the acrylic will peel.
How many coats do I need over existing paint?
Two topcoats is the standard for an even colour and sheen. A big colour change may need an undercoat as well.
Should I wash walls before repainting?
Yes. Kitchens, hallways and around light switches carry grease and hand marks that stop paint bonding. A sugar soap wash and rinse is quick and prevents a lot of problems.
Final Thoughts
Painting over existing paint is simple when the prep is done properly. The shortcuts that save 30 minutes upfront often cost hours of rework within two to three years.
Our residential painters team assesses surfaces carefully before quoting. For older homes, our guide on common painting problems in older NSW homes is worth reading first.